
 I have a love/hate relationship with metal roofing. The romantic natural purist in me is less than enamored with the stuff. Let’s face it, it’s an industrial product. The pragmatist in me recognizes the numerous advantages and rolls his eyes at the idealist. At the end of the day, metal is an obvious roofing choice. It’s fairly easy to source, lasts a long time, and looks respectable enough.
The big challenge is that fringier and more aesthetically appealing natural materials are just so frustratingly unavailable. Wood shakes/shingles, slate, thatch — I love these materials dearly. Realistically, they’re just not in the cards for most of what I do.
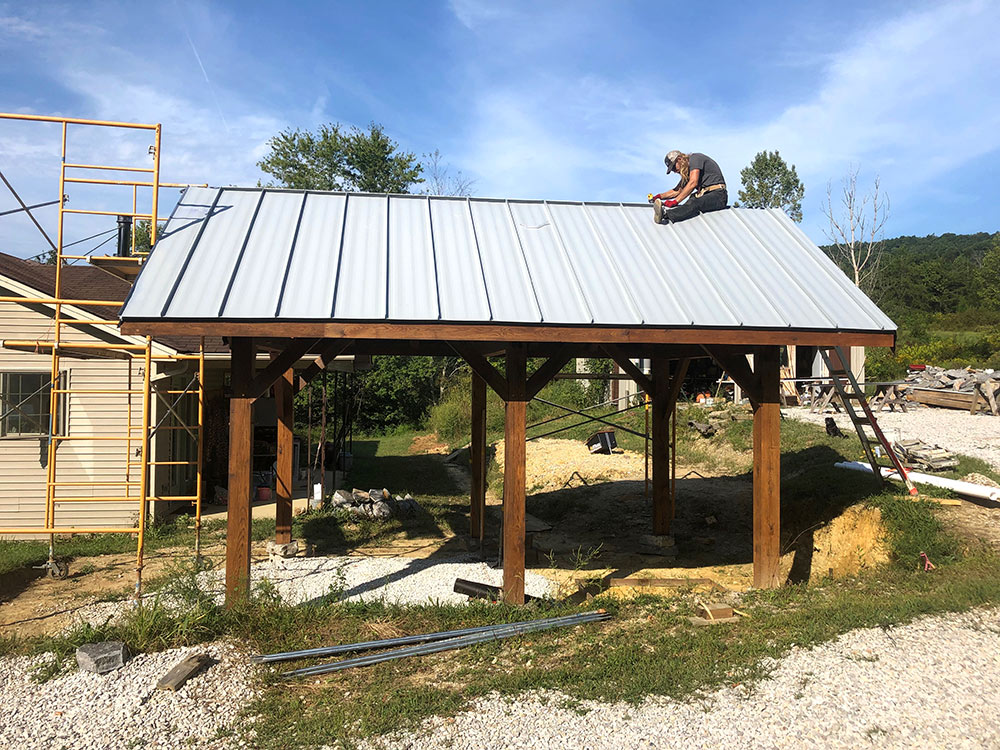
So once again I fall back to metal. But this time I insisted on standing seam for the outdoor kitchen. I have to admit, standing seam proved to be a real learning experience. I thank the gods it’s behind me now.
Advantages of Standing Seam Metal Roofing
Of all metal roofing products, I’ve always idealized standing seam. The obvious benefit of standing seam is that there are no exposed fasteners. Why would you make holes in your main defense against the weather?
Well, screw-down roofing is fast and easy. And pretty cheap. And… there end the advantages. On the other hand, standing seam looks far better, lasts longer, and requires less maintenance than exposed fastener roofing.
Disadvantages? It’s less available, slower to install, requires specialized tools, fewer people know how to work with it, and it’s more expensive. You can see why exposed fastener roofs are commonplace.

Installing Standing Seam Roofing
My first struggle was sourcing the roofing panels. I got a bit of a runaround from the first manufacturer I contacted, and lost a couple of weeks in the process. My second try was more fruitful, and the manufacturer helped set me up with the right material… except for one error with trim dimensions, which is debatable whose fault that was.
Each manufacturer has their own panel dimensions and profiles. From what I can tell, there’s not one standard width, for example. Installation methods vary, too. The panels I used required a fairly common system of clips to secure individual panels to the roof.
Once I figured out the panel installation, that part was actually pretty straightforward. The clips screw into the decking and the roofing panels have a satisfying “click” when they engage the adjacent panel. However, the gable trim and ridge cap required a lot more fussing than the roofing panels themselves.
Because the whole standing seam system was unfamiliar to me, it was a real learning curve to understand the finer points of the installation. I relied on the few tips I got from the manufacturer, and a handful of videos. Most videos I found were of little help, but these animated installation videos were a godsend. What would have been ideal was learning directly from someone with experience. Isn’t that always the best? Alas, that wasn’t possible this time. Also, a second pair of hands was absolutely essential for most of the work — thank you Nick.
I’ll be happy if I don’t have to think about doing this again for a long time, but realistically I’ll probably be at it again next year. It’ll be hard to go back to exposed fastener roofing. Standing seam looks damn sharp. The mistakes I made are very much embedded in my memory, and I should save a lot of time and heartache the next go round. Luckily, none of the errors were catastrophic either. In the moment, though, it can be hard to deal with mistakes.
This sounds really obvious, but it’s difficult to do something unfamiliar. Though I guess it’s good to get schooled every once in a while, you know? Luckily this was a tiny roof, in the grand scheme of things. It’s done now and I’m happy.
I don’t know how you do it. I would have slapped D-panel or 5-V on that sucker and never looked back!