The hammock house, our outdoor timber frame structure, has been a fun opportunity to experiment with different finishes. The charred oak timbers were a first try. This spring, we installed an earthen floor over the plywood subfloor, which I’ve always wanted an excuse to do. And this fall, I did some of the first finish plaster, a shikkui lime plaster in the gable ends.
Here are some process photos of the shikkui experience.
Experimenting with Shikkui
Shikkui plaster is a mix of lime powder, fine hemp fiber, seaweed glue, and water. The proportions can vary, and I settled on a ratio that I thought would work for my situation. The plaster is very fragrant to mix up, thanks to the potent seaweed powder… it reminds me of living within a reasonable distance of the ocean, which was many years ago now. (How have I literally not been back to the ocean in over 10 years??)
The hemp takes some work to loosen up so that it doesn’t form a big nasty clump in the lime mix. I used an air compressor to fluff up the fiber in a plastic bag by blowing air into it. Simple and effective.
First the seaweed glue and hemp are mixed together, and finally the lime and additional water are added. This is a pretty wet mix, and the fibers definitely get tangled in the paddle bit…
I tested the mix on a practice wall before doing the real thing. On such a tiny sample, it was easy to do the compression step and get a lot of reflection in the finish surface. Once it was dry, I got some light hairline cracks, but I deemed it okay to proceed with.
Preparing for Shikkui
Before I applied the shikkui finish in the hammock house, I did a leveling coat of clay plaster over the scratch coat. It’s important that the base be extremely flat and even, otherwise any imperfections will easily show through the ultra thin shikkui finish.
I had some fermented clay plaster that sat in a tub for about a year, which was dreamy creamy to use. I used some freshly made stuff on the opposite side and it was interesting to note the color difference between the two. I used a wood float to ensure the wall was perfectly flat.
Of course, I let the leveling coat fully dry before applying the shikkui. It dried quickly thanks to the arid weather… and then it was time for the finish.
Shikkui Application
I applied the shikkui in two thin passes. The shikkui has such a strange consistency that it’s hard to get a handle on. Think raw egg whites, with lots of fiber in it? Something like that. I made a bit of a mess on the first section, I’m not going to lie. I don’t have enough experience with this recipe to understand how to work with it very confidently… yet?
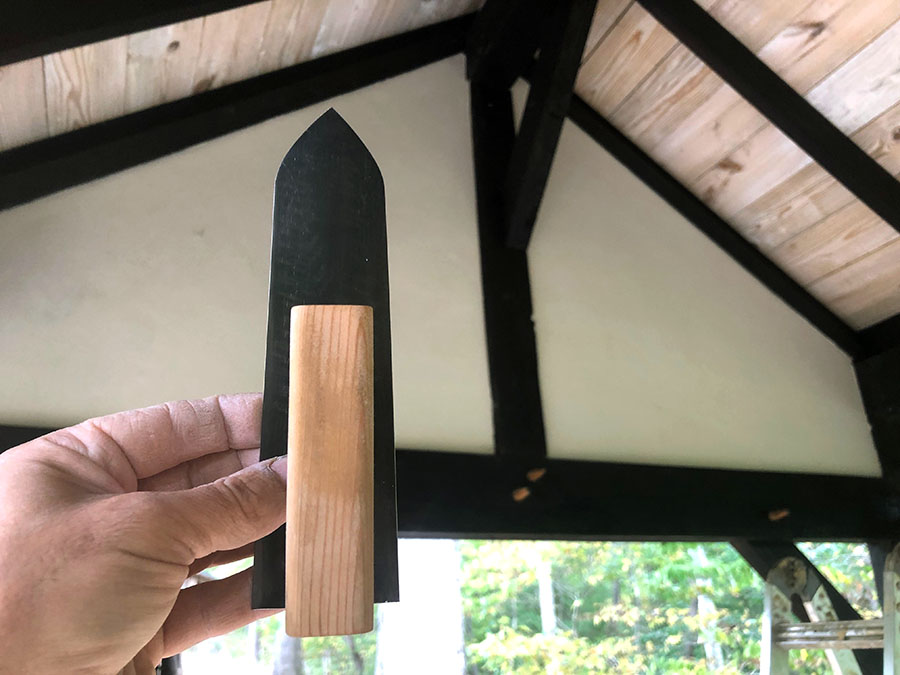
Once the plaster was firmed up, I used a hard honyaki trowel to compress the plaster and bring out some sheen. It was difficult working closely to the charred timbers on the edges, since I would occasionally pick up a tiny particle of soot and drag it into the plaster. Instant black mark. Challenging!
Ultimately, I did get some hairline cracks in the finish once it dried. Luckily, they are hardly visible unless you are specifically looking for them, but needless to say there is room for improvement. It’s hard to believe, but I think more fiber is in order next time. This is a fiber-heavy mix, but that’s what you get when there’s no sand to speak of…
On a side note, it was a treat to use my new jigane and honyaki trowels that I got from Sugita-san while I was in Japan. The jigane trowel was the one he made for me during the filming week. Brings back memories…


